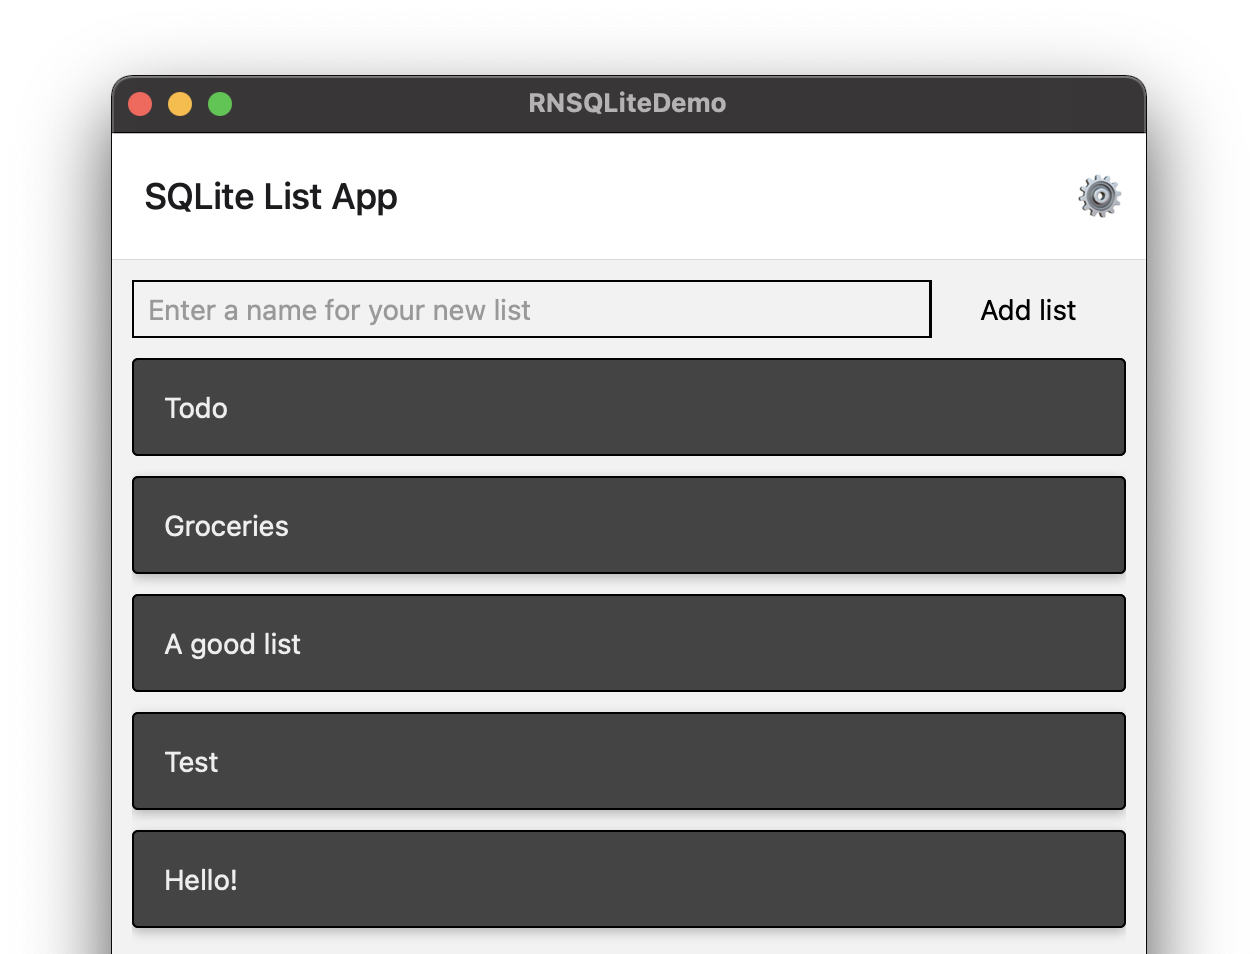
I first learned about the React Native for macOS project while investigating a claim I’d heard that any iOS app could now run natively on Big Sur. Turns out I had heard wrong; iOS apps can run natively on Big Sur, but only on Macs with the new Apple Silicon (M1 chip).
Fortunately, the folks at Microsoft have been hard at work on React Native for Windows + macOS which claims to enable you to run your React Native apps on macOS versions 10.13 (High Sierra) and greater. I have an app with a user base that would value being able to work on both mobile and desktop, so I decided to try it out.
This post details some of the gotchas I ran into while adding macOS support to an existing React Native app.

Before you begin
I’d highly recommend giving the Get Started with macOS - 0.62 doc a read from top to bottom before attempting to add support to an existing app. It is short and sweet, and in a perfect world will give you a working macOS app in about 5 minutes. Worst case, you’ll find out which dev dependencies you are missing and can get those sorted before beginning the process with your own app.
Next, ensure your existing app has been upgraded to React Native 0.62.2 (the latest 0.62 release). At the time of writing the latest release of RN is 0.63, but the “Get Started with macOS” guide indicates: “Latest stable version available for React Native for macOS is 0.62”
Are you a few versions behind? The React Native Upgrade Helper is an excellent tool for working through an upgrade. I’ve done a few of these now, and have my process documented here: Upgrading a React Native app
Install
The installation itself is a breeze and was finished in a few minutes over a decent internet connection. I won’t duplicate the steps here since they are very nicely laid out in the Get Started with macOS - 0.62 guide.
Hopefully this part goes smoothly for you as well, but if not I’d recommend perusing the react-native-macos GitHub repo issues tab to see if there’s a workaround for your problem.
Upon reaching the bottom of the “Get Started with macOS” guide you should have a shiny new macos/ directly next to ios/ and/or android/ in your project root. Open your new macos/*.xcworkspace file with Xcode, select the *-macOS build target, and hit the play button to build and run your app.

Gotchas
Did your app open up, work perfectly, and not display any redbox errors? If so, I offer my sincere congratulations. You may close this browser tab now and begin the App Store release process for your new macOS app (after a thorough round of testing, of course 🙂).
If not, however, perhaps I can help by sharing some workarounds to issues that I ran into while adding macOS support to the react-native-sqlite-demo app.
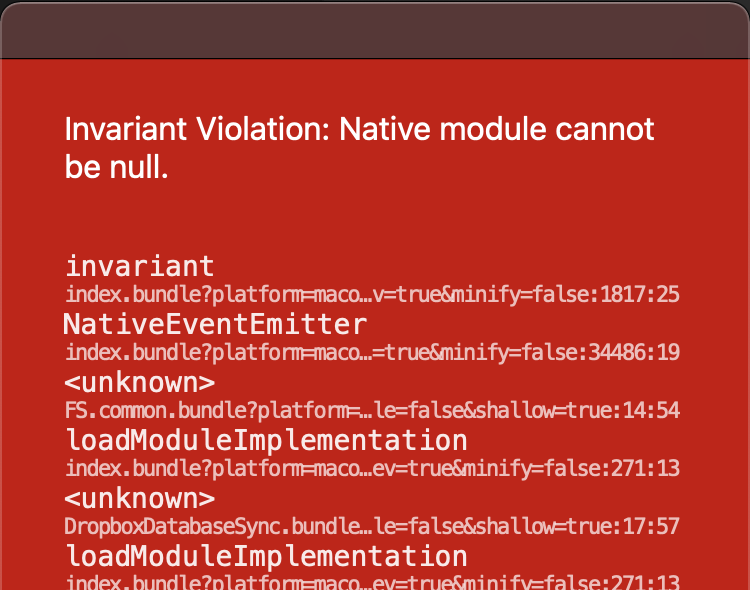
Invariant Violation: Native module cannot be null

This was a frustrating one to debug. Which module are we talking about, here?
Invariant Violation: Native module cannot be null.

invariant
    index.bundle?platform=macos&dev=true&minify=false:1817:25
NativeEventEmitter
    index.bundle?platform=macos&dev=true&minify=false:34486:19
<unknown>
    FS.common.bundle?platform=macos&dev=true&minify=false&modulesOnly=true&runModule=false&shallow=true:14:54
loadModuleImplementation
    index.bundle?platform=macos&dev=true&minify=false:271:13
<unknown>
    DropboxDatabaseSync.bundle?platform=macos&dev=true&minify=false&modulesOnly=true&runModule=false&shallow=true:17:57
loadModuleImplementation
If you come across this error
My understanding of this error is that there is some JS code in your app which is attempting to use a native module which does not exist in the compiled app, for whatever reason. Knowing this, the first step to resolving this error is to understand which native module is failing to run on macOS.
There is a clue in the fine print of the above stacktrace which I would only discover after extensive googling. Starting at the top, look for the first line of fine print which references a JavaScript (or TypeScript) module from your app. In my apps case, DropboxDatabaseSync is the clue that I initially overlooked.
Next, open the file in question. If you aren’t using source control now might be a good time to start, since I am going to suggest deleting source which you will most likely want to add back later on. At the very least, take a complete backup of your app before making any changes.
Now it’s time to remove imports for any native modules that this file includes, and comment out (or delete) the code which is making use of the imported module. In my case this first involved commenting out the following 4 lines, and then updating the code below to not use these imports. This completely breaks this feature, of course, and is temporary. The goal at this point is only to find the module that is causing the error:
//import NetInfo from "@react-native-community/netinfo";
//import AsyncStorage from "@react-native-async-storage/async-storage";
//import RNFetchBlob from "rn-fetch-blob";
//import RNFS from "react-native-fs";
With these imports commented out and the methods of this file updated to either return Promise<void> or null, I was able to run the app!
Note: In some cases I had to re-run the app from Xcode in order to have the latest code run on the macOS simulator. If you are stuck in a “redbox loop”, try re-running instead of reloading.
I began adding back in imports for these modules until I determined that the culprit of my error was: react-native-fs. A quick search of the project’s GitHub issues revealed that there are others who are lobbying for macOS support already - 🤞.
Solution/workaround
So you’ve discovered that a dependency containing platform native code does not support macOS. What next?
In the react-native-sqlite-demo case, this was not a critical dependency to run the app. It does break one of the app’s main features unfortunately (Dropbox database sync), but the app can still function as a standalone app without it.
An option available to support native functionality on platforms which support it, while disabling it on those which don’t, is to leverage React Native’s Platform Specific Code features. I specifically like the Platform-specific file extensions, which allow you “sub in” platform specific files as needed, without changing any of the code which uses those files.
In my case, the solution involved creating a DropboxDatabaseSync.macos.ts platform-specific file which contains a mocked implementation of the DatabaseSync interface that basically does nothing. Since it does nothing, it does not need the react-native-fs plugin, and the app is able to run successfully with this file picked when the app is run on macOS.
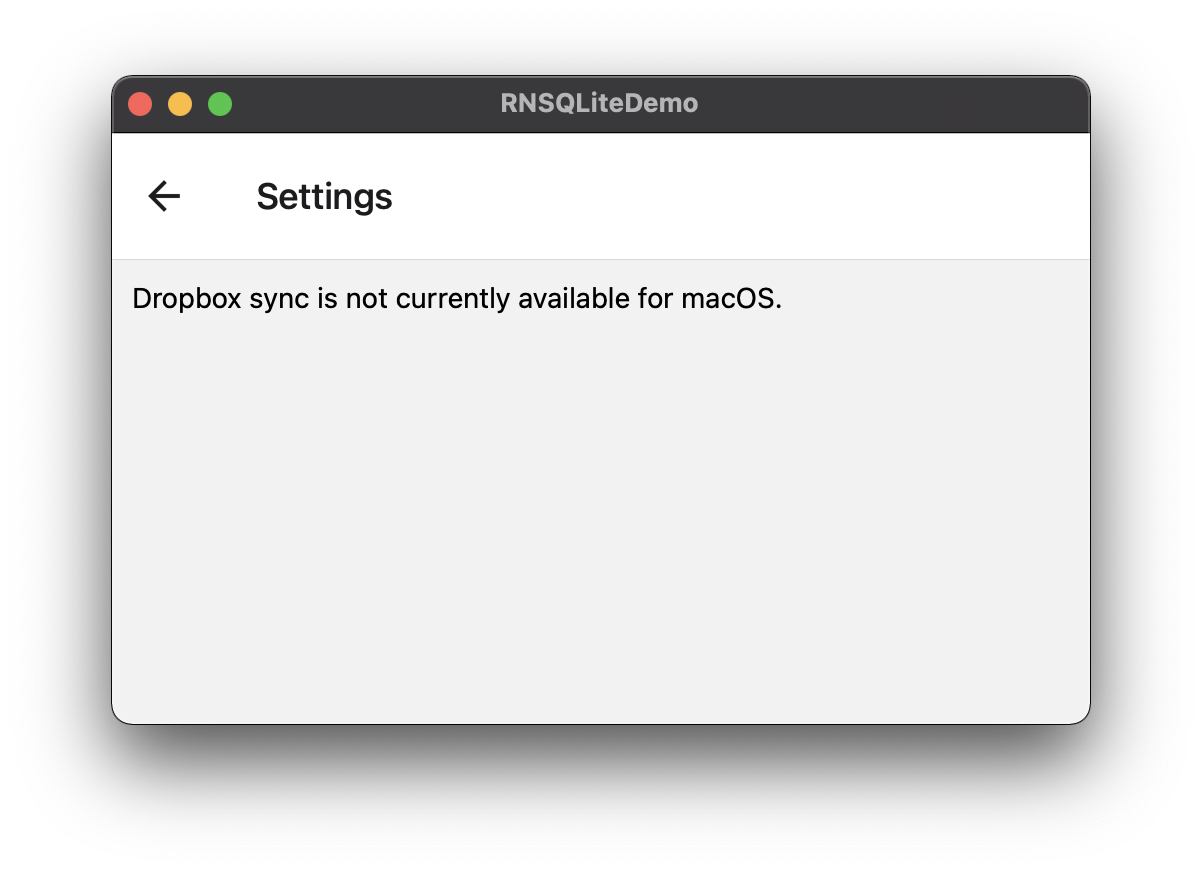
To avoid user frustration, I also added a platform specific Settings page which shows the following message when the app is run on macOS:

Another option, for my particular issue: since Dropbox is typically running locally on a user’s machine, a potential workaround could be to bypass the need for the plugin (and sync mechanism) altogether by accessing the database file directly from it’s location in the user’s Dropbox folder. Something to try in a future post… 😄
React Native Modal support

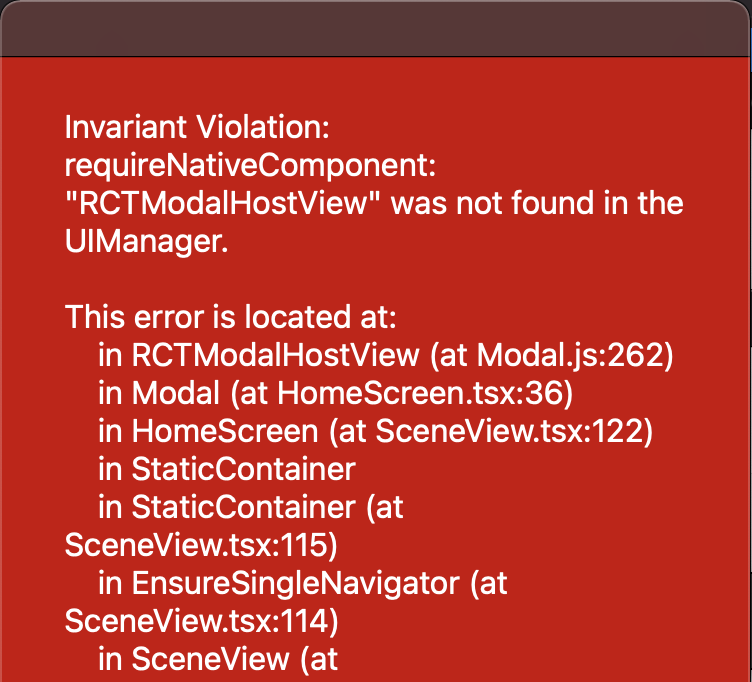
Invariant Violation: requireNativeComponent: "RCTModalHostView" was not found in the UIManager.

This error is located at:
    in RCTModalHostView (at Modal.js:262)
    in Modal (at HomeScreen.tsx:36)
    in HomeScreen (at SceneView.tsx:122)
    in StaticContainer
    in StaticContainer (at SceneView.tsx:115)
    in EnsureSingleNavigator (at SceneView.tsx:114)
    in SceneView (at useDescriptors.tsx:153)
This error is due to the core React Native Modal component not being supported on macOS and Windows. I was frustrated by this one at first since my two main RN apps both make extensive use of the Modal component. However, when you think about it, the UI pattern offered by Modal is not a very common pattern on desktop.
Solution/workaround
Since Modal support is not implemented in react-native-macos, I could have either implemented it myself (a larger task than I was game to take on), or switch from using Modal to something else. I chose the latter.
Up until this point I had tried to keep the dependencies of the react-native-sqlite-demo to a bare minimum to focus on the SQLite & Dropbox aspects of the app. As a result I had deliberately avoided including a navigator. With Modal no longer being a viable option, I figured that it was time to introduce a navigator. I landed on React Navigation which appeared to support macOS out of the box.
If you choose this option, or perhaps you already use React Navigation in your app, note the following line in the Getting Started doc:
Note: If you are building for Android or iOS, do not skip this step, or your app may crash in production even if it works fine in development. This is not applicable to other platforms.
import ‘react-native-gesture-handler’;
The last sentence above is key: This import should not be included when the app is run on macOS. To support this, I again used the Platform Specific Code features of React Native to include an index.macos.js which does not include this import line.
By replacing my use of Modal with a React Navigation “Stack Navigator” I was able to work around this issue. I recognize that this is a much simpler endeavour for a 3-screen demo app than it would be for a real production app—and is the main reason that I have not rolled out macOS support yet for my side project app.
Conclusion
With these (non-trivial) issues resolved, my React Native SQLite demo app now runs successfully on macOS! The Dropbox sync functionality is unavailable, but the other plugins in use (most notably: SQLite) work as expected.
Will I deploy an app to macOS in the future? Almost definitely. Approaching a new app with the constraints of running it on both iOS and macOS from day 1 would definitely make things easier. That said, as of early 2021, the react-native-macos package is still being actively developed, so I am optimistic that the gap between iOS and macOS will continue to close, and the experience of building apps that work on both platforms will continue to improve.
